Work with or without Linear
Choose Tasks when you want to browse your team’s Linear issues or attach an agent run to an issue. Connecting OpenAI, Anthropic, Google, or another model provider does not connect Linear; the issue workspace has its own connection.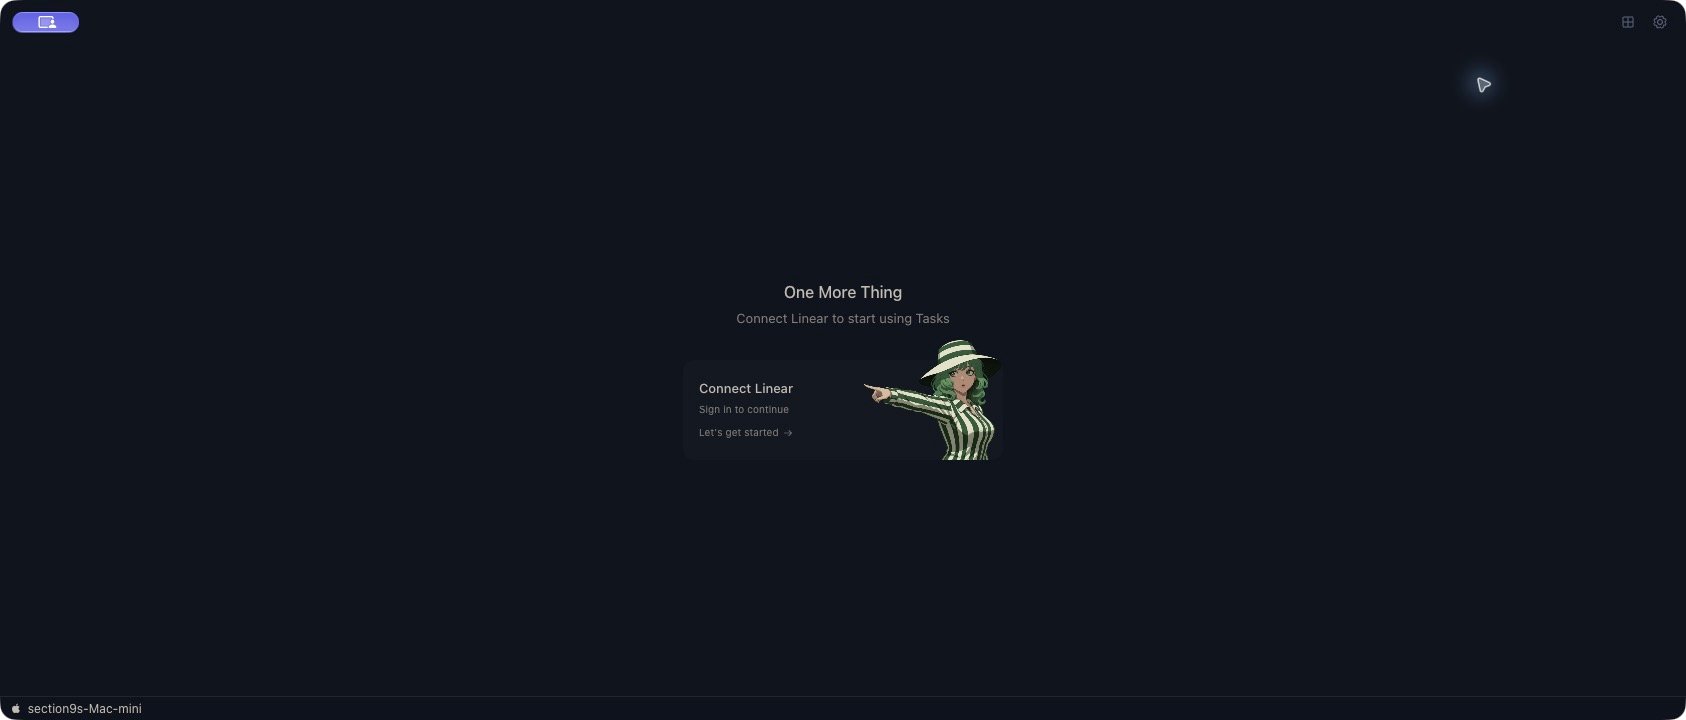
Tasks shows this setup screen when a usable Linear connection is unavailable. The layout control remains available in the top bar.
Open your team’s issues
1
Switch to Tasks
Open Switch layout in the top bar and choose Tasks.If you see Connect Linear to start using Tasks, wait for the initial check. If no usable connection is available, choose Connect Linear and complete the sign-in flow. Return to Kisuke and wait for the team list to load.If the app reports that Linear sign-in is unavailable on the current platform, use the desktop app for this setup.
2
Check the organization and team
The selector at the bottom of the sidebar shows the current team and organization. Open it to switch among connected organizations and teams.Add team lists available teams that have not been added to Kisuke yet. Adding one opens that team’s issues in Kisuke; it does not create a team in Linear. Add organization opens another Linear connection flow.
3
Choose a view and category
Select All team issues, then All issues under Issues for the broadest view of the selected team. Choose Inbox or Board in the top bar.A newly selected team can show loading placeholders while its issues arrive. An older list can remain visible during a refresh. Wait for loading to finish before treating an empty or unchanged list as the current result.
Understand the sidebar
Views contains All team issues and your saved views. Issues narrows the current view by workflow status:
Choosing a category opens the Inbox list. You can switch to Board afterward; the selected category still limits its columns and issues.
The separate Tasks section lists issues with an attached agent conversation. Its Filter tasks menu offers All, Running, Completed, and Failed. This is a view of agent execution, not the same filter as the issue’s Linear workflow status. For example, Completed includes work ready for review; it does not establish that someone reviewed or merged it.
An issue can be in an in-progress workflow column while its agent is waiting for input. Read both the issue status and the conversation before deciding what needs attention.
Search, filter, and sort
Use Search… to match an issue’s title, description, or identifier, such asTRAIL-42. Matching ignores capitalization. Search works over the selected team’s loaded issues and the current saved view; it does not search every connected organization or every conversation.
Use Filters to narrow by Priority, Assignee, or Label. Available assignee and label choices come from the loaded issues.
- Multiple priorities match any selected priority.
- Multiple assignees match any selected assignee.
- Multiple labels in the toolbar require every selected label.
- Different filter types combine. A high-priority issue assigned to someone else will not match your high-priority, assigned-to-you filter.
Save a reusable view
A saved view points at the same team issues. It does not copy them, create another Linear team, or create a Linear view.1
Create the view
Choose New view in the sidebar. The dialog is titled New board.
2
Choose its scope
Enter a Name, choose the Linear team, and select the available Priority, Assignee, Labels, and Project filters you need.Project here means the issue’s Linear project. It does not select the local repository or computer where an agent will work.
3
Save and inspect the result
Choose Save board. The saved view appears under Views and becomes selected. Check its results, including any toolbar filters and status category still in effect.
Saved-view label filters match any selected label. Toolbar label filters match all selected labels. Selecting Bug and Desktop in a saved view includes either label; selecting both in the toolbar requires both. A toolbar filter further narrows the saved view.
Read and edit an issue
Select an issue row or card to open its details. Use Properties to inspect Status, Priority, and Assignee. For an issue with an agent conversation, Details, Chat, and Changes provide different views of the work.- Title: edit it, then press Enter or leave the field to save. Shift+Enter inserts a line break.
- Description: edit the body, then click outside it or press Cmd+Enter on macOS, or Ctrl+Enter on Windows and Linux.
- Priority and Assignee: choose the value from the corresponding control. Assignment uses a Linear member selection.
- Status: choose a workflow state. In Board, you can also move a card between columns. Choose manual sorting to reorder cards within a column.
Refresh and recover
Kisuke refreshes the selected team’s issues while Tasks is visible and when you return to it. Use Refresh from Linear in the top bar when you need a fresh full-team check. A visible cached board does not establish that the latest refresh succeeded.Tasks returns to Connect Linear
Tasks returns to Connect Linear
Wait for Checking Linear to finish. This setup screen means Kisuke does not currently have a usable Linear connection; it does not identify the cause by itself.If you connected Linear previously, check the connection to the project computer before signing in again. An initial status request can fail because the computer or connection is unavailable. Restore that connection and reopen Tasks. If the setup screen remains, use Connect Linear and complete the sign-in flow.You can return to Switch layout → Zen to continue ordinary project conversations while resolving the issue connection.
An issue is missing from the list
An issue is missing from the list
Check the organization and team. Select All team issues, then All issues, and clear the toolbar filters. Refresh from Linear and search by the exact issue identifier.Archived Linear issues are excluded from the live import. Check the issue directly in Linear if you still cannot find it, including whether it was archived, deleted, moved to another team, or is no longer visible to your connected account.
The issue is marked Missing from Linear or appears under Stale
The issue is marked Missing from Linear or appears under Stale
Kisuke retains a previously imported issue when it disappears from a full-team sync. Stale describes that missing import result; it does not mean that an agent has been inactive for too long.Check its current location and access in Linear, then refresh the correct team. A returning issue clears the stale marker when imported again. Starting new work on a stale issue is disabled; resolve the issue’s availability first.
The toolbar reports Sync failed
The toolbar reports Sync failed
Inspect the refresh control’s error text, restore the connection, and use it to retry. The previous issue list can remain visible during a failure, so avoid treating it as a newly confirmed snapshot.If Files, Terminal, Git, or the conversation are also unavailable, check the connection to the project computer. A Linear-specific error and an unavailable project device need different recovery steps.
A saved view is empty, but the team has issues
A saved view is empty, but the team has issues
Open All team issues to check the source list. Inspect the view’s priority, assignee, labels, and Linear project filters, then check the separate status category and toolbar filters.A view can legitimately become empty after an issue’s properties change. Deleting and recreating it is not needed to clear toolbar filters.
An edit disappeared or a card moved back
An edit disappeared or a card moved back
Refresh and inspect the actual issue in Linear. Another edit, a rejected workflow transition, or a failed remote save can change the result shown in Kisuke.Preserve any unsaved description text before leaving the editor. Reapply only the change that is still needed after checking the current issue; repeated submissions are not evidence that the earlier write failed.