Signing in to Kisuke with Google is separate from connecting Google as an AI provider. Likewise, the GitHub setup step checks GitHub CLI access on your computer; do not assume that a Kisuke sign-in alone completes it.
Sign in to Kisuke
At Welcome to Kisuke, choose Continue with Google or Continue with GitHub. Complete the sign-in flow and return to the app. Review the terms and privacy information shown by the app before signing in. If sign-in fails, read the displayed error. Use Cancel to leave a pending sign-in attempt before starting another one.Set up Connect
At Set up Connect, choose the installation scope:- Just for me is the recommended choice for most users.
- For all users selects a system-level installation and requires administrator access.
Resolve a Connect setup problem
Keep the error and failed stage if you need help. Details can include account identifiers and local paths, so review them before sharing.
Review Device Sync when it appears
The wizard may show Device Sync after Connect is ready. It can skip this step when discovery determines there is no online peer to sync with or synchronization is disabled. Check the reported progress and any items that need attention. The normal successful path advances automatically. Continue manually appears only when the current sync status allows it; it is not a confirmation that every item synchronized successfully. Review what Device Sync shares, including the default-on provider credentials and agent preferences. Other data categories, installations, and deletions have separate controls.Connect an AI provider
At Connect an AI provider, choose Connect Provider to open provider settings. Connect OpenAI, Anthropic, Google, or another provider offered there using its available authentication method. See Connect providers for the distinction between API keys, sign-in integrations, and Google versus Antigravity. You can add more providers later; your model picker depends on the connected provider and selected harness. If an account is already connected, the wizard shows the connected provider names. Skip for now lets you configure access later. Skipping this screen does not establish that a usable model is available for your first message.Finish the remaining setup steps
The wizard offers several additional steps. Use the status and available controls on each screen:
The number of steps can vary with existing configuration and detected tools. You do not need to wait for chat discovery to finish before entering the workspace.
Start in Zen mode
- Open a project and confirm the device and working folder.
- Switch to Zen mode if it is not already active.
- Open the model picker, choose an available harness for the new conversation, and select a model.
- Review the permission mode. Use Ask first when you want approval requests for actions that require them.
- Send a small request grounded in the project, such as:
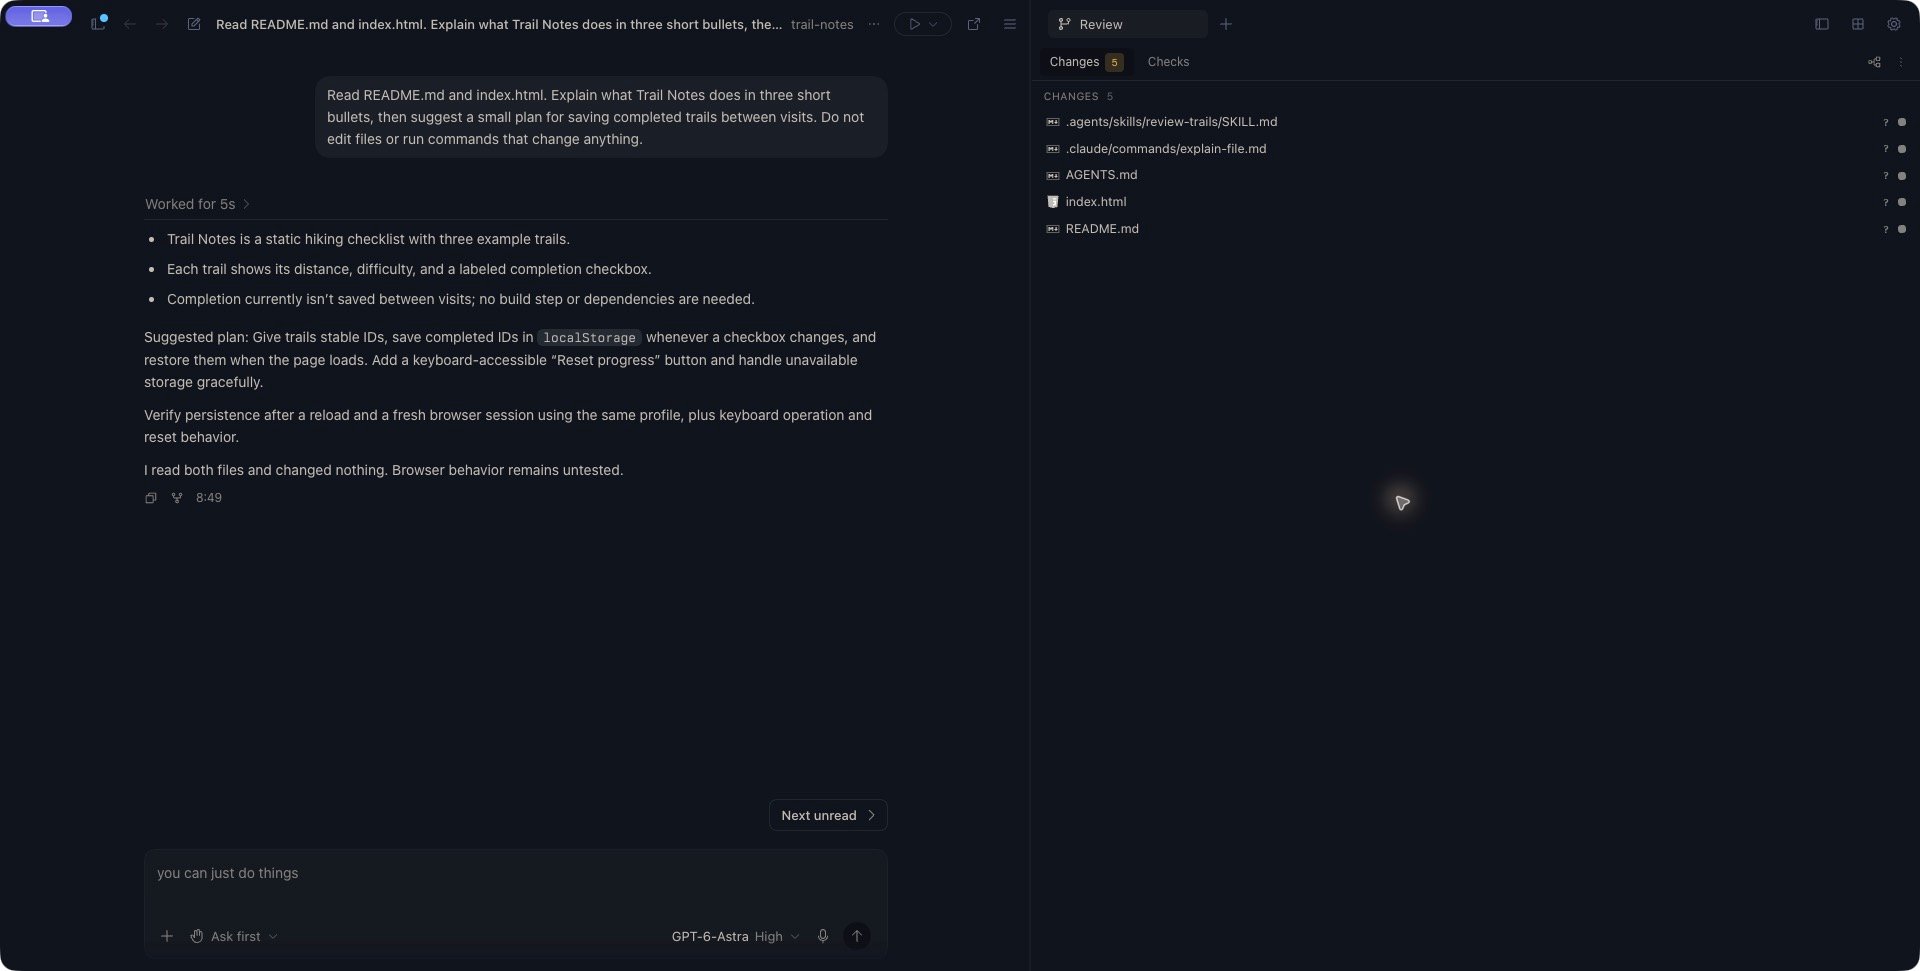
A completed first response in the Trail Notes example project, with Review open beside the conversation. Model and permission selections are examples.