Choose an integration
These are the built-in providers in the current catalog, using their names in Settings. The table describes the desktop connection controls; web, iOS, and Android have different sign-in options. Catalogs can change, so check the controls offered by your client.
Provider access and agent installation are separate. For example, Google is a provider, while Gemini CLI is a harness; Kimi and Kimi CLI are separate entries too. See the harness inventory before choosing the agent that will use your models.
Sign in with an account
- Open Settings → Providers and choose Sign In beside the provider.
- For Anthropic, choose Claude account or Anthropic Console, according to the account you want to connect.
- Complete the provider’s authorization in the browser that opens.
- Return to Kisuke and let the sign-in flow finish. The waiting dialog can progress through authorization, token exchange, and saving the sign-in.
- Check the provider card. It should show your account information or Signed in instead of Not connected.
Connect with an API key
Obtain the key from the provider you want to connect. Its official setup guide explains where to create or manage one: Then add it in Kisuke:- Open Settings → Providers.
- Choose API Key beside the matching provider.
- Enter the key in the password field and choose Save.
- Wait for the form to close, then check for API key configured on the provider card.
- Choose a model in a new conversation and verify a complete response.
API key configured confirms that Kisuke has stored a credential. Saving a key does not test a model request or prove that the key has access to every model in the catalog.
Google and Antigravity
Choose Google when connecting with a Gemini API key. Choose Antigravity for its separate account sign-in integration. Connecting one does not connect the other, and their model identifiers and catalogs are not interchangeable. Antigravity offers sign-in without an API-key field. Use the desktop app for this flow. If you expect a particular Gemini model, search by model name and check the provider heading before selecting it. Older saved Google sign-ins do not establish support for the current Google integration. Its current route uses an API key; use Antigravity for the separate sign-in route.Choose a model in Zen
Return to your project and start a new conversation. Open the composer model picker, choose the harness, and search by provider or model name. Select the model and review its reasoning setting if available. The direct Anthropic integration runs through Claude Code. Other provider and harness combinations have their own available catalogs. See Models and harnesses for selection steps and missing-model checks. Provider setup alone does not change a running turn. Select the model you want in the composer before submitting your next prompt.Verify a complete response
Use a small request in a separate conversation before relying on a new provider, model or harness combination:- Select the intended project and device. Open the model picker and check the provider group, harness, model and reasoning level.
-
Send a small request whose result is easy to inspect. For example:
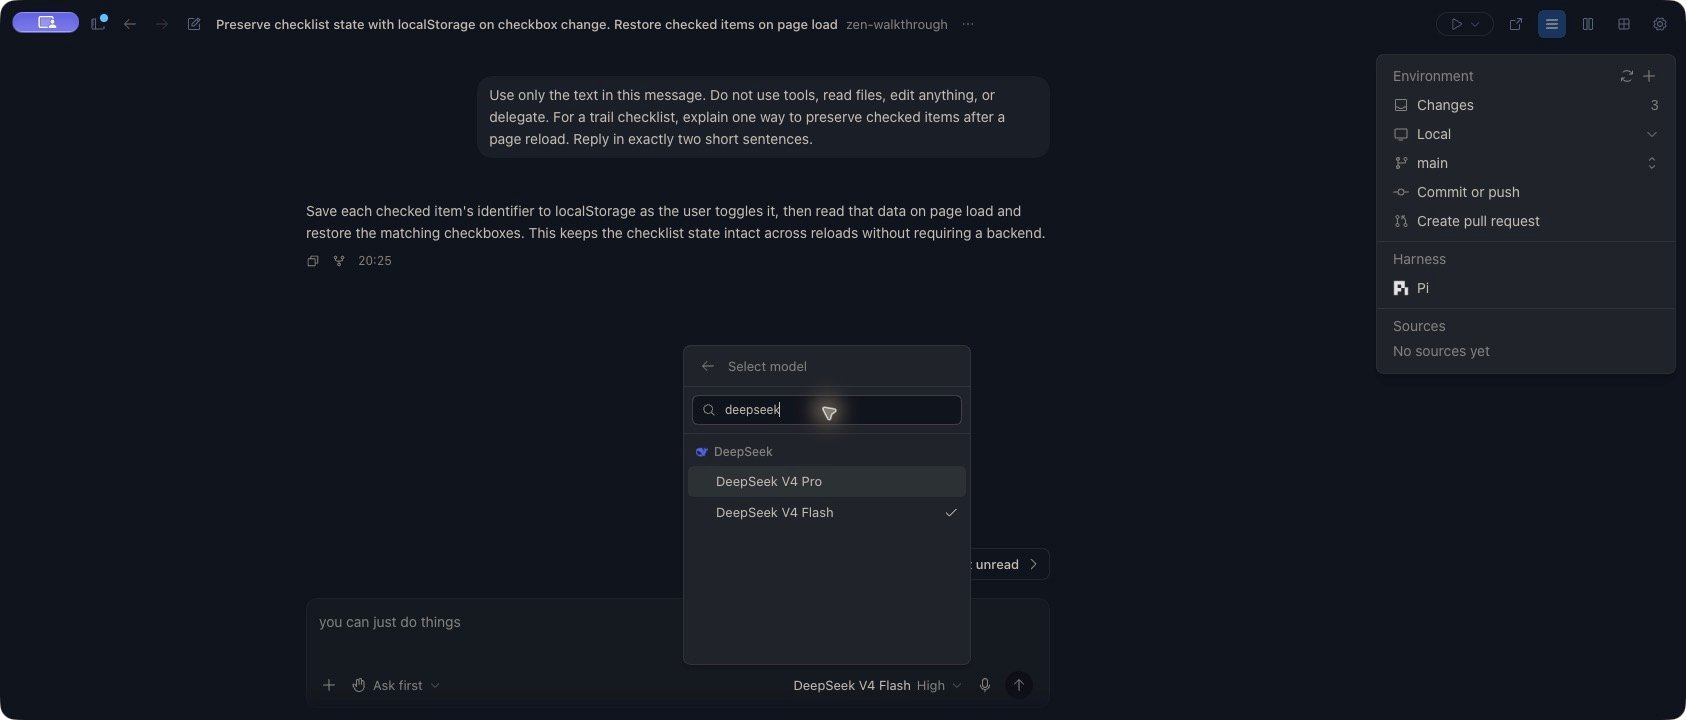
Use only the text in this message. Do not use tools, read files, edit anything, or delegate. For a trail checklist, explain one way to preserve checked items after a page reload. Reply in exactly two short sentences.
- Wait for the response to finish. Read the answer and check that the conversation reports no error. Text appearing while the response is still active does not establish successful completion.
- If the request fails, record the error, approximate time, device, provider, harness, model and reasoning level before changing one of those choices.
- OpenAI with Codex
- DeepSeek with Pi
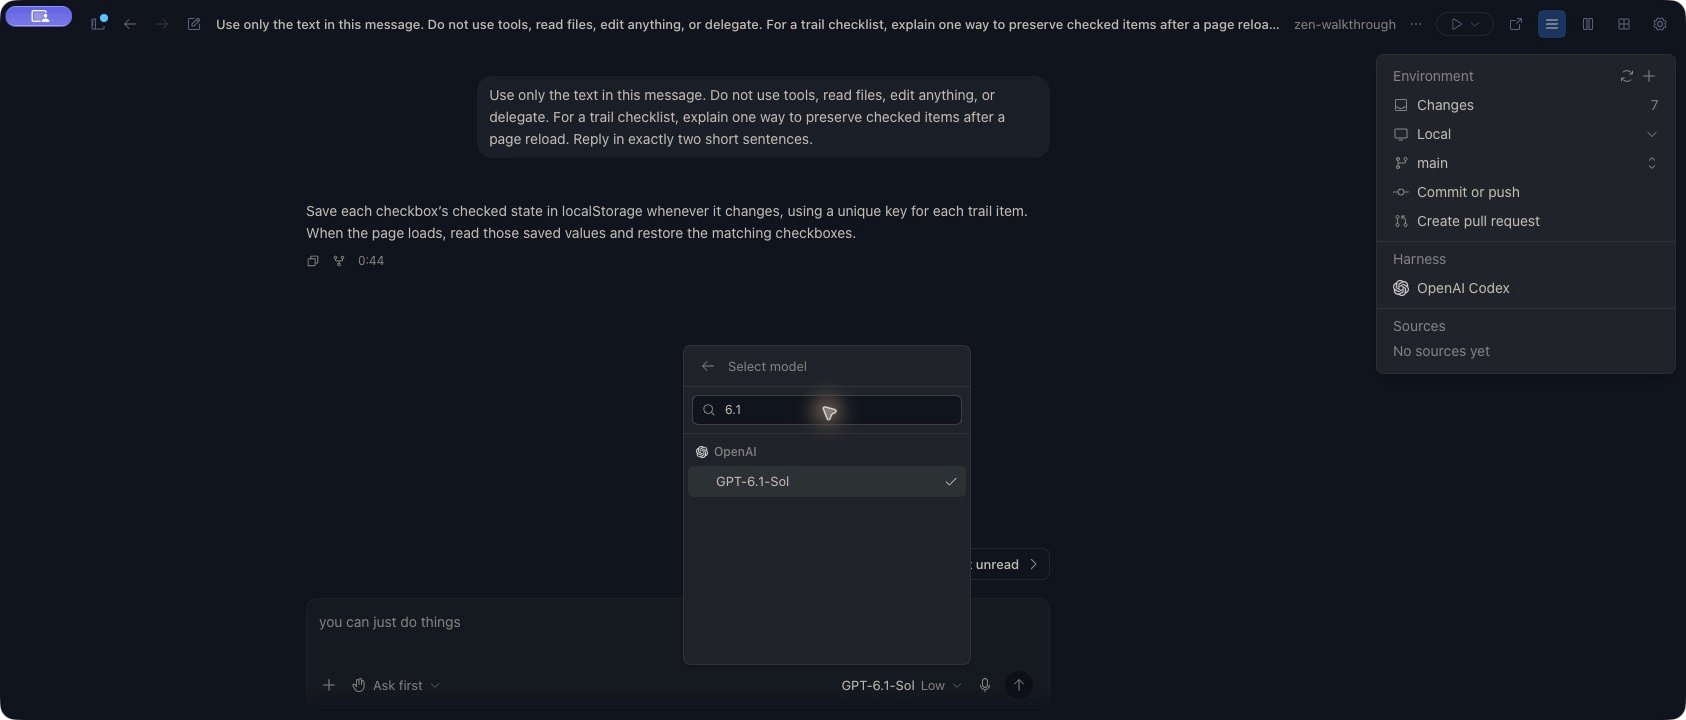
A completed text-only response using GPT-6.1-Sol with Low reasoning. Codex appears as OpenAI Codex in the environment summary.
Web, iOS, and Android
Check the connection on the device that will run your conversation before relying on a setup completed elsewhere.
Device Sync can share provider credentials and account metadata between computers on your Kisuke account. Model providers is on by default in a fresh installation. Review that choice on each computer; copied access still needs a successful model request to verify it works.
Custom models
For an endpoint you configure yourself, use Custom Models in the Providers panel. These definitions are separate from built-in provider accounts and belong to one Connect device. See Use a custom model for the exact fields, connection test, model selection, and troubleshooting steps.Resolve connection problems
For a rejected first prompt, see Troubleshoot a first message. Changing agent permissions does not repair a provider connection.